Choose SSD capacity with working space in reserve
Build a storage budget from your own files, working space and growth assumptions, with consistent capacity units.
Updated:

Start with the files that must stay on this computer
Choose SSD capacity by listing the work the drive must hold. Separate the operating system and applications, active projects, downloaded libraries and temporary working files. Measure existing folders where possible, then state what you expect to add. A capacity tier alone cannot answer whether your particular workload fits, and a larger advertised number does not establish compatibility or performance.
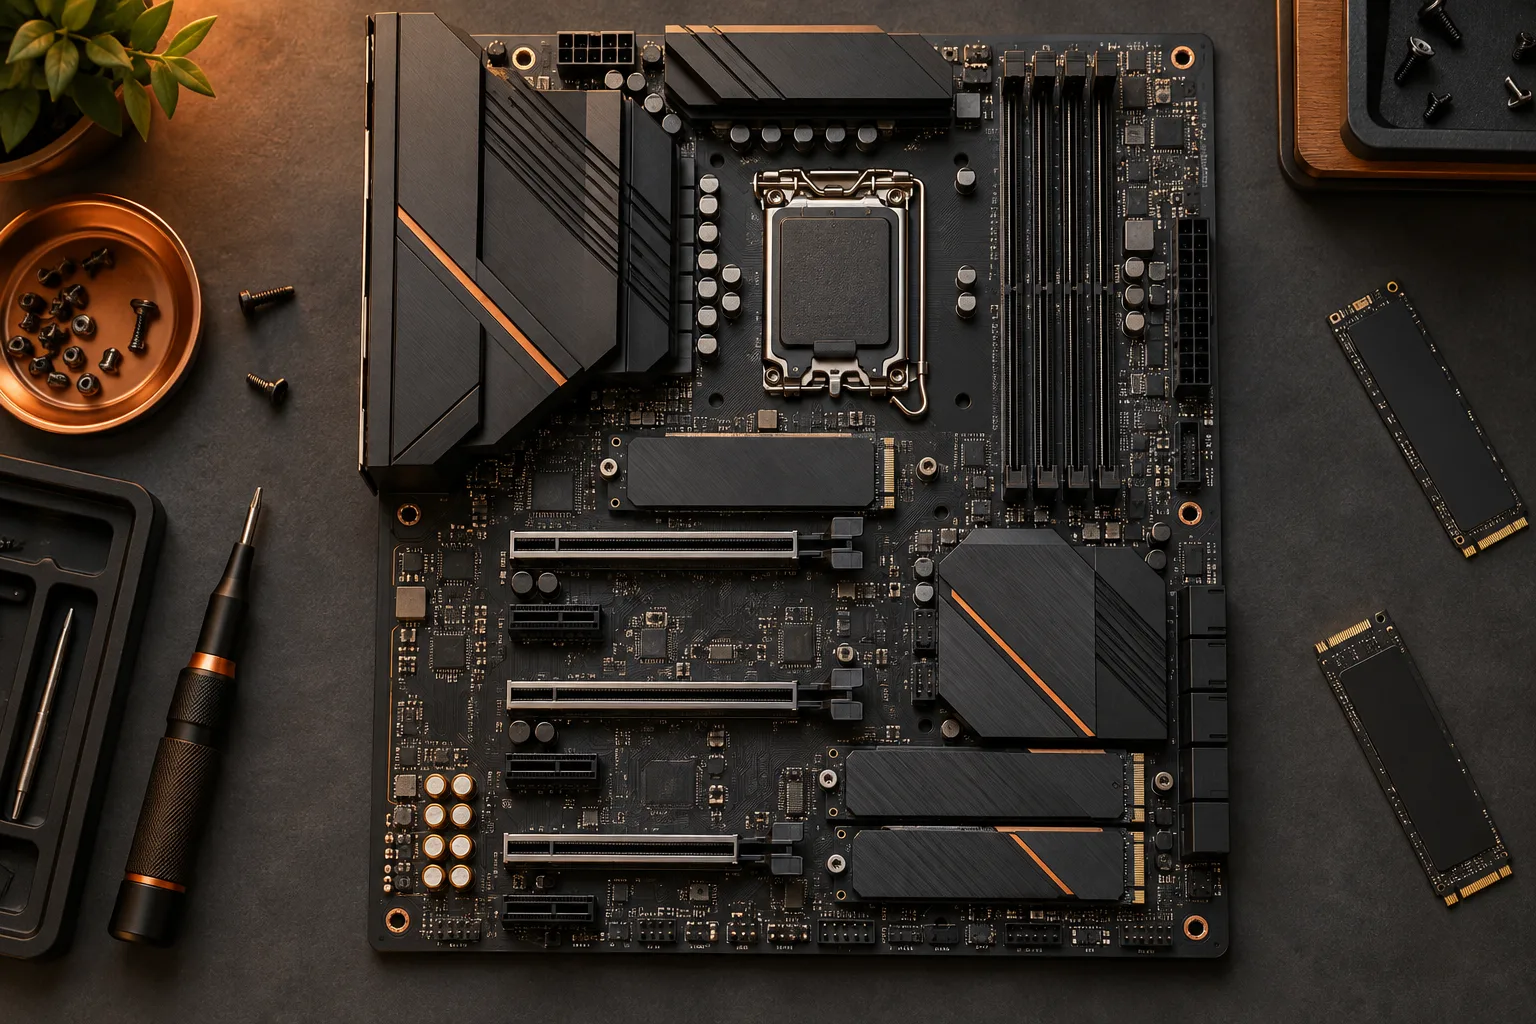
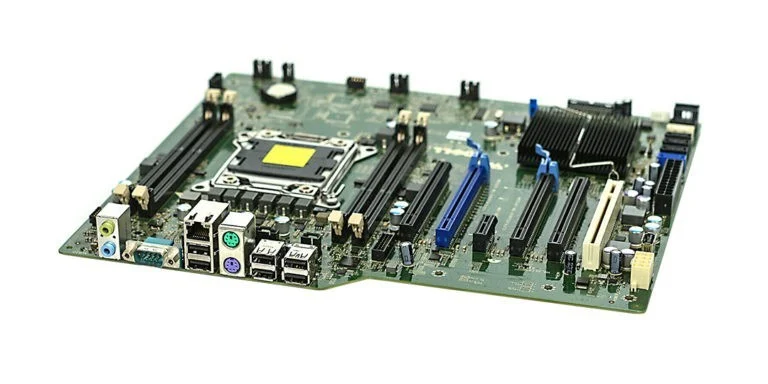
The motherboard photograph provides the expansion context: a future storage purchase also needs a supported connection and mounting position. This archival board is not a socket map for your system. If your budget assumes adding another drive later, verify that expansion path now. Otherwise the future purchase may require replacing the existing drive and moving its contents instead of simply adding capacity.
Keep physical format separate from the capacity budget
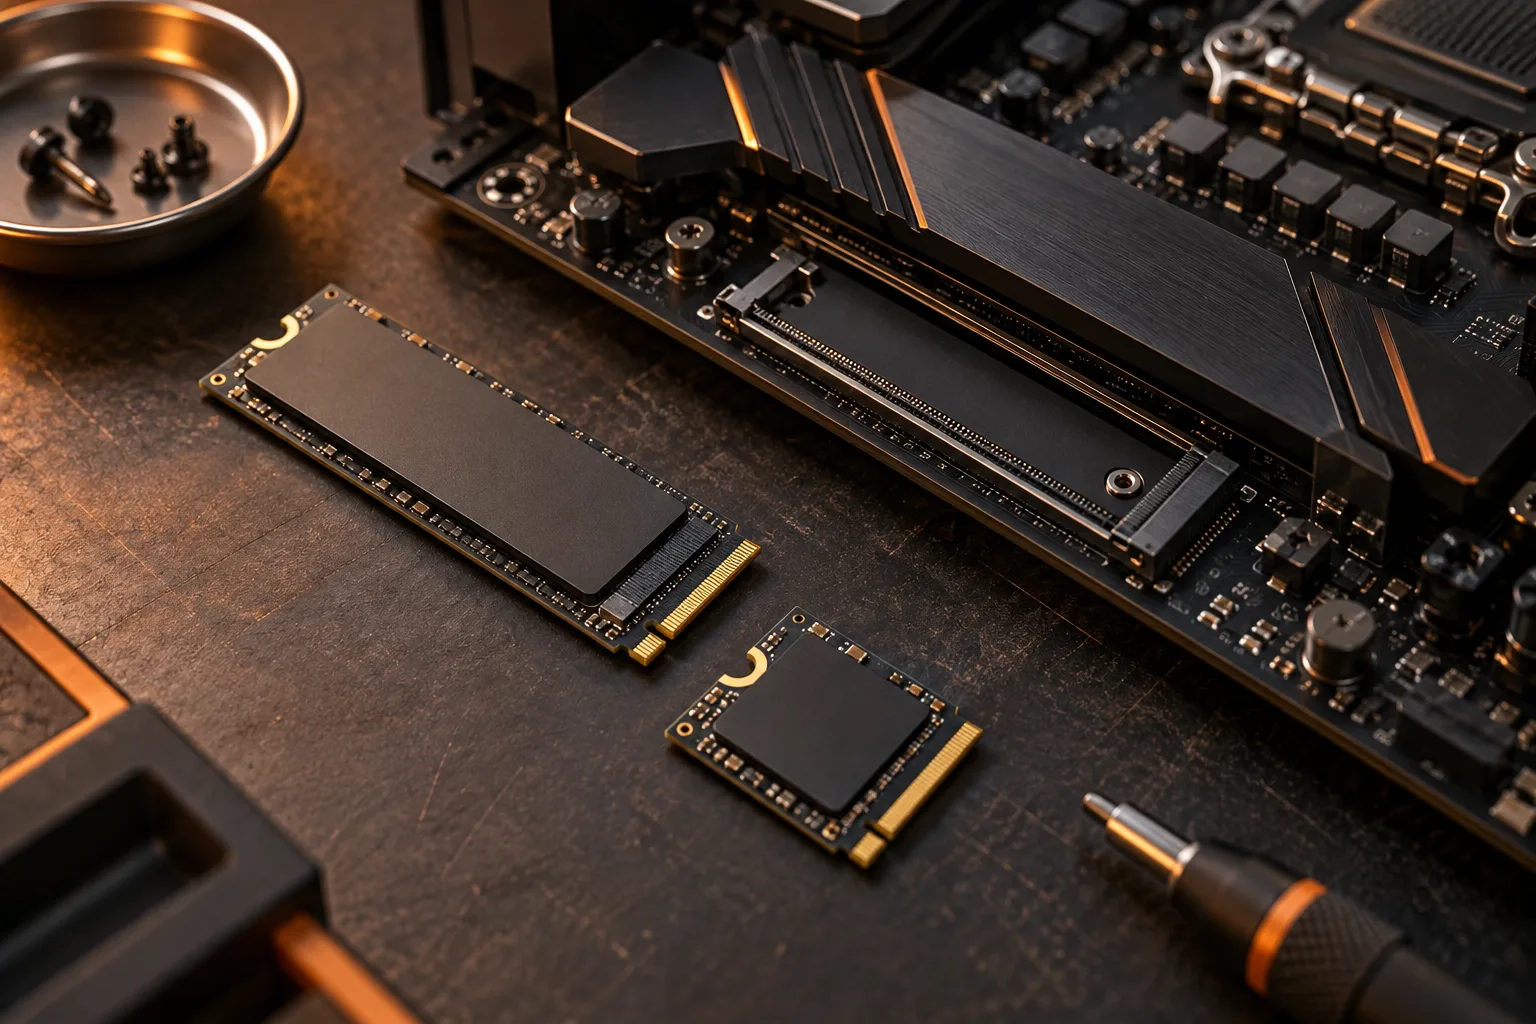
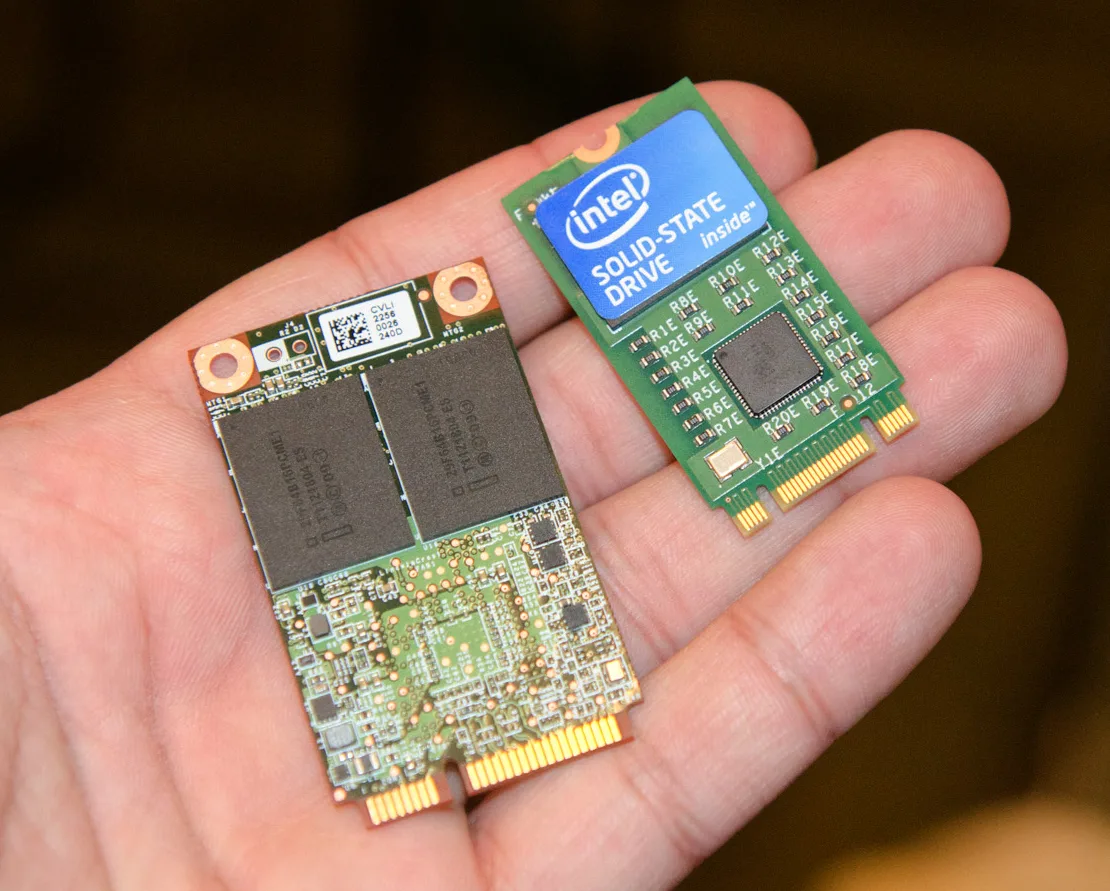
The comparison photograph shows an mSATA module alongside an M.2 2242 module. Their outlines help explain why capacity and physical compatibility belong in separate columns. Two products with the same advertised storage amount can require different connections. Establish the size and interface supported by your exact system before comparing the cost of candidate capacities.
Record the complete model and its advertised capacity beside the intended socket. A family name can cover several capacities and versions. Do not copy an assumption from one variant to another, particularly where a heatsink or mounting arrangement changes. The capacity worksheet below begins only after a candidate drive has passed the separate physical and interface checks.
Use the same unit on both sides of the calculation
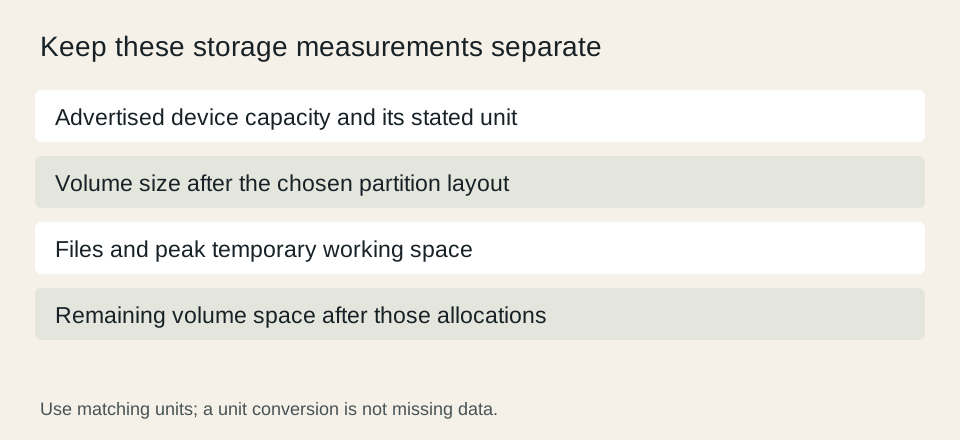
NIST distinguishes a gigabyte, equal to 1,000,000,000 bytes, from a gibibyte, equal to 1,073,741,824 bytes. Keep GB and GiB distinct when comparing a product label with a software report. Converting the same byte count between those units changes the displayed number; that conversion alone does not mean files have disappeared or that formatting consumed the difference.
The archival Intel 760p photograph has a visible 512 GB label. Treat that as the label on this particular example, not a measurement of available space after software installation. For your own computer, record the unit actually used by the reporting tool and distinguish the whole device, its partitions and the free space within a particular volume.
NIST: binary prefixes and byte units ?

Make growth and working space explicit assumptions
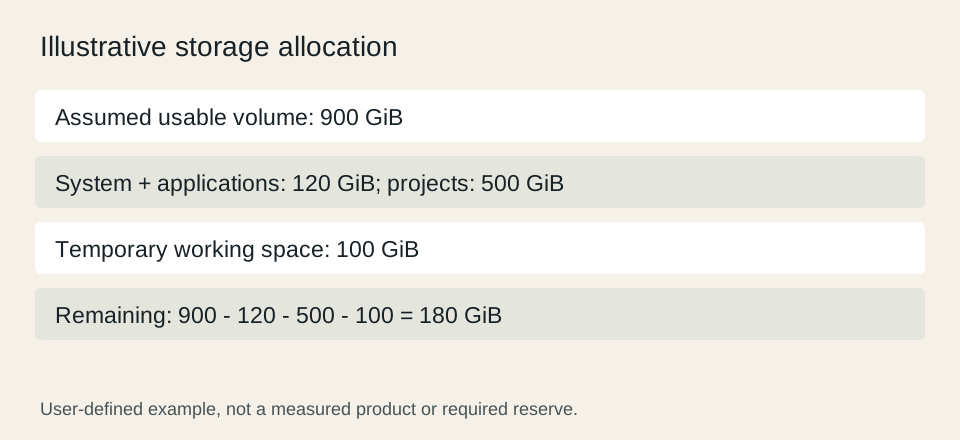
Here is an illustrative budget, not a measured SSD: assume a usable volume of 900 GiB. Allocate 120 GiB to the operating system and applications, 500 GiB to projects and 100 GiB to temporary working space. Those allocations total 720 GiB, leaving 180 GiB, or 20% of the assumed volume. The reserve is a planning choice in this example, not a universal SSD performance requirement.
Replace every allocation with your own measured or estimated need. Large downloads, export files and duplicate project versions can change the peak requirement even when the final saved file is modest. Record whether temporary space is already included in an application estimate so that you neither omit it nor count it twice.
Choose a capacity against a stated time horizon
Write down when you expect to review the storage plan again and what growth you have included until then. If the worksheet does not fit, compare a larger compatible drive, a documented second-drive option or a deliberate reduction in locally retained files. Make the tradeoff visible instead of pretending an unspecified future cleanup solves the shortfall.
Keep the purchase record separate from a backup plan. This calculation describes local storage allocation; it does not demonstrate that a second copy exists or can be restored. Finish with the exact candidate, consistent units, expected peak use, remaining space and the assumptions that would trigger a fresh calculation.